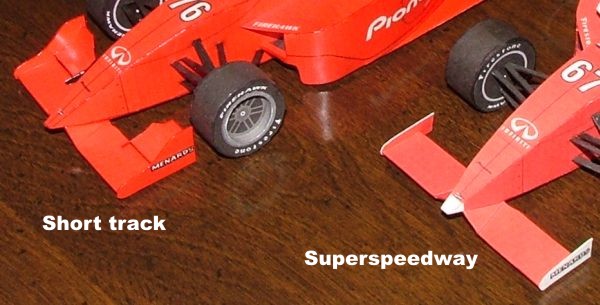
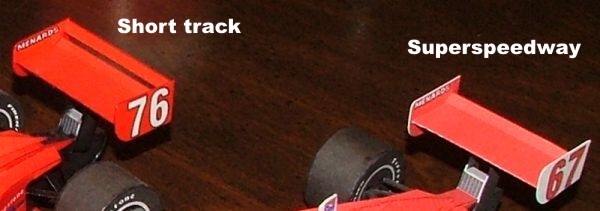
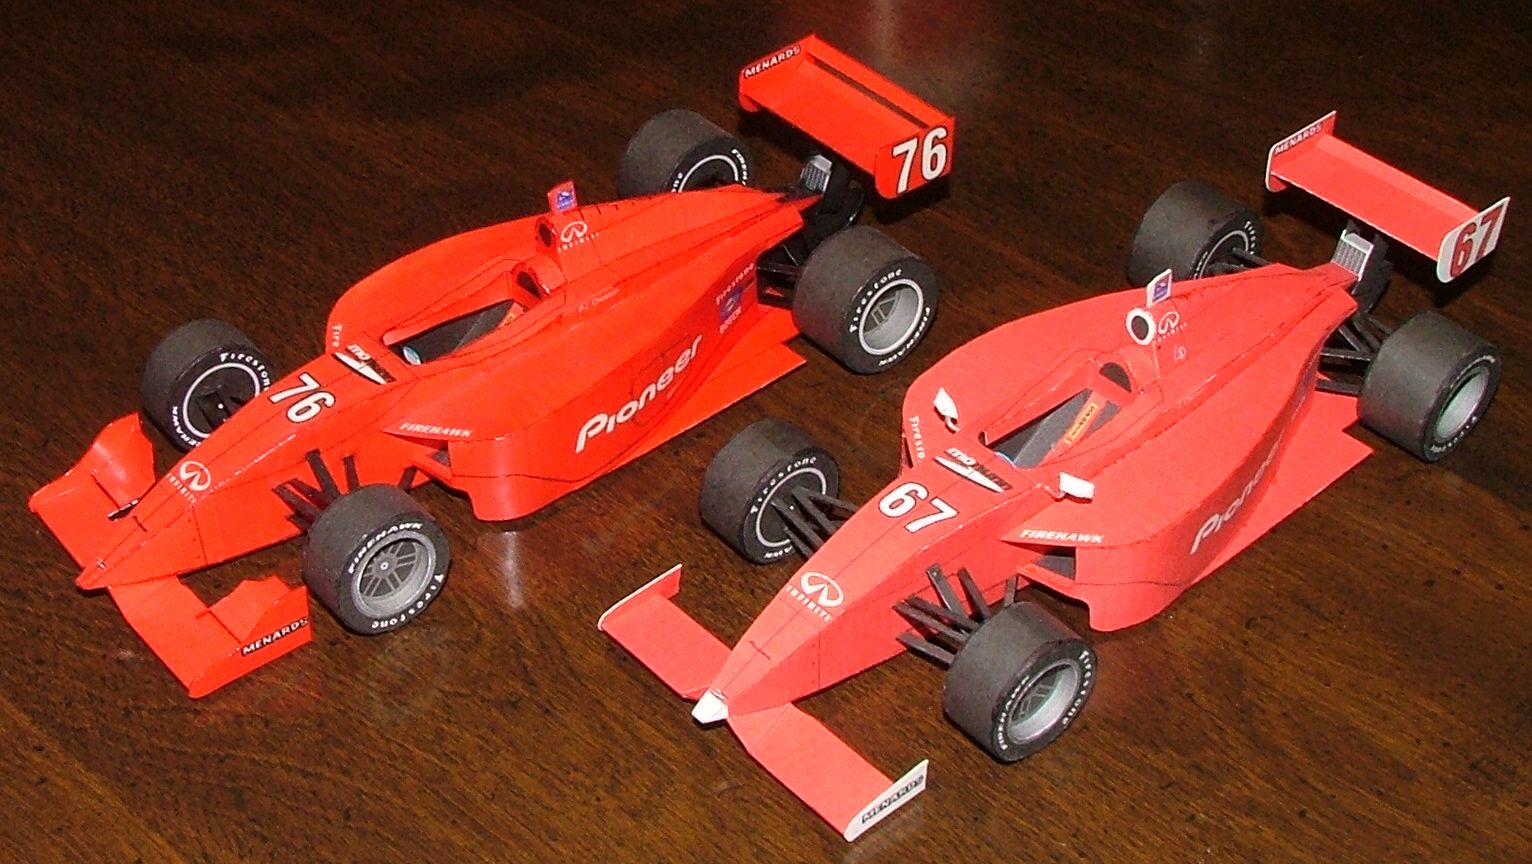
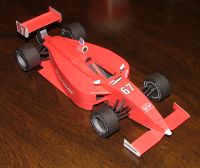
Before beginning assembly, you need to make a couple of decisions. First, decide whether you want to use superspeedway or short track wings:
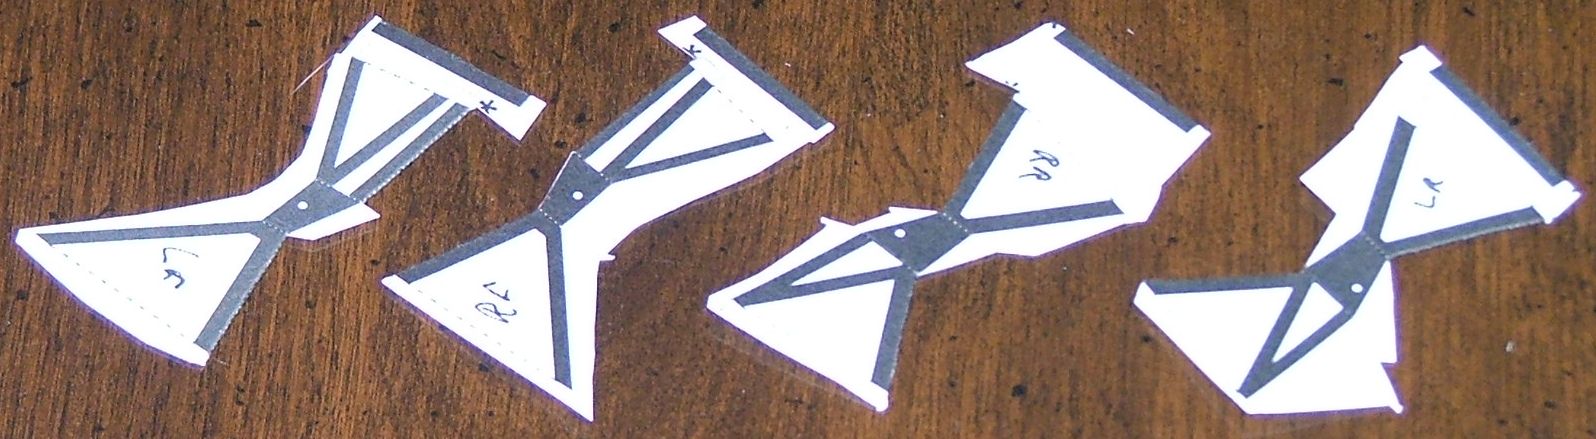
Then, decide if you want to use the locating tabs on the suspension assemblies. Using them guarantees proper location and allows the suspension to be assembled to the chassis more quickly, but takes more time when cutting out the parts initially. I personally don't use the tabs, and just take a little extra care when assembling. If you decide to use the tabs, cut out the 20 small slots in the chassis before folding it up.
Click on any picture to see a larger version.


|
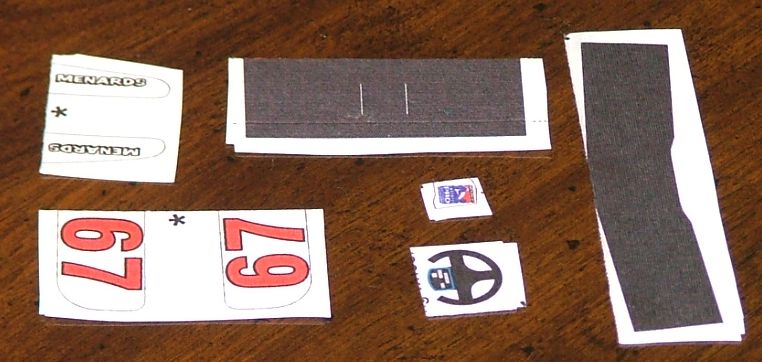
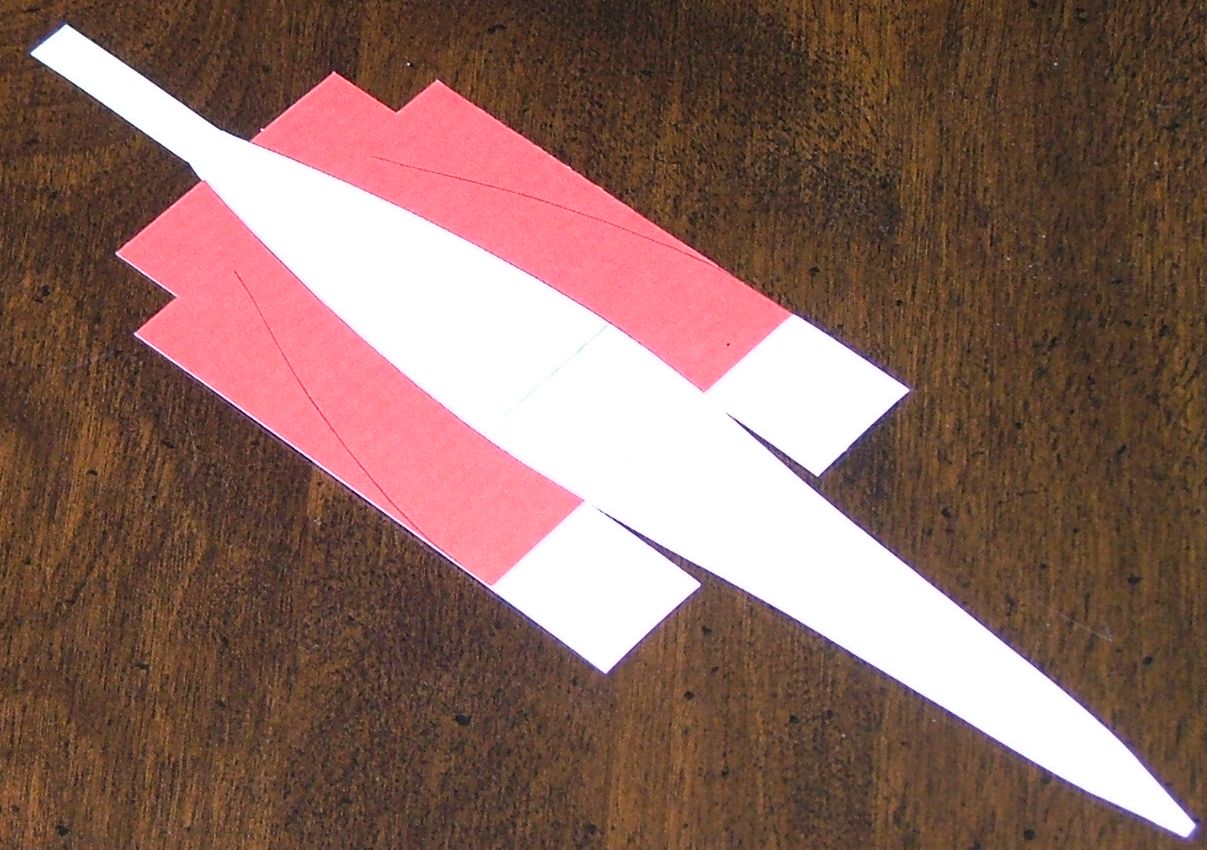
1. Start by scoring, cutting out, and doubling all the parts that need to be doubled: bottom chassis platform, wings, upper wings, wing endplates, suspension, steering wheel, and camera pod. Use a non-wrinkling glue (a glue stick is good). Weight down on a flat surface and allow to dry overnight.
|
|
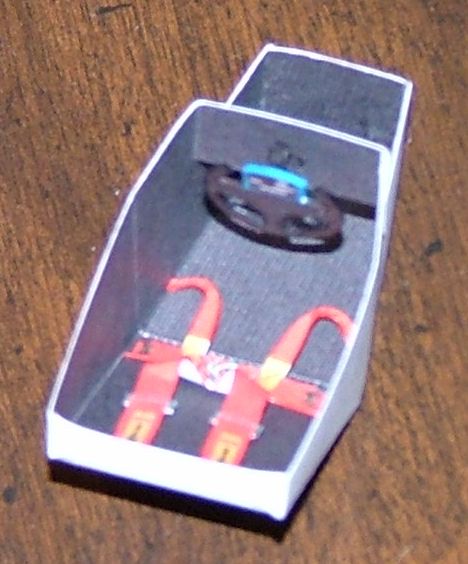
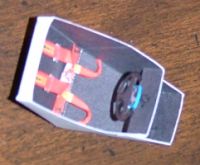
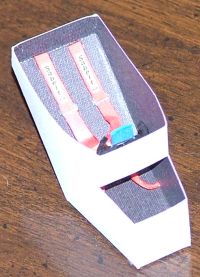
2. Score, cut out, and fold up the cockpit. Cut out the seat belts and glue in the position shown. Cut out the steering wheel and the steering shaft. Glue the shaft to the back center of the wheel, and when dry, glue the assembly into the cockpit where indicated.
|
|
3. Score and cut out the main chassis. Fold down the tabs, and glue the upper surface to them. DO NOT glue the small tab at the rear of the upper surface to the side tabs yet.
|

|
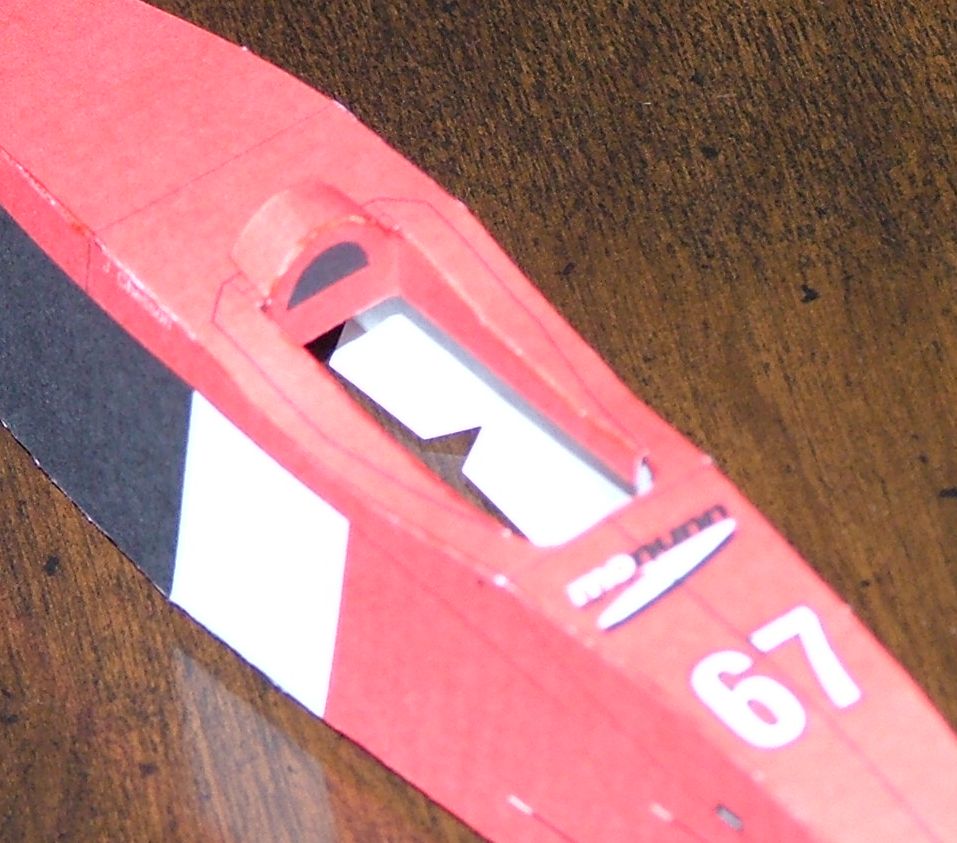
4. Score and cut out the headrest, fold up, and glue into the cockpit opening as shown.
|
|
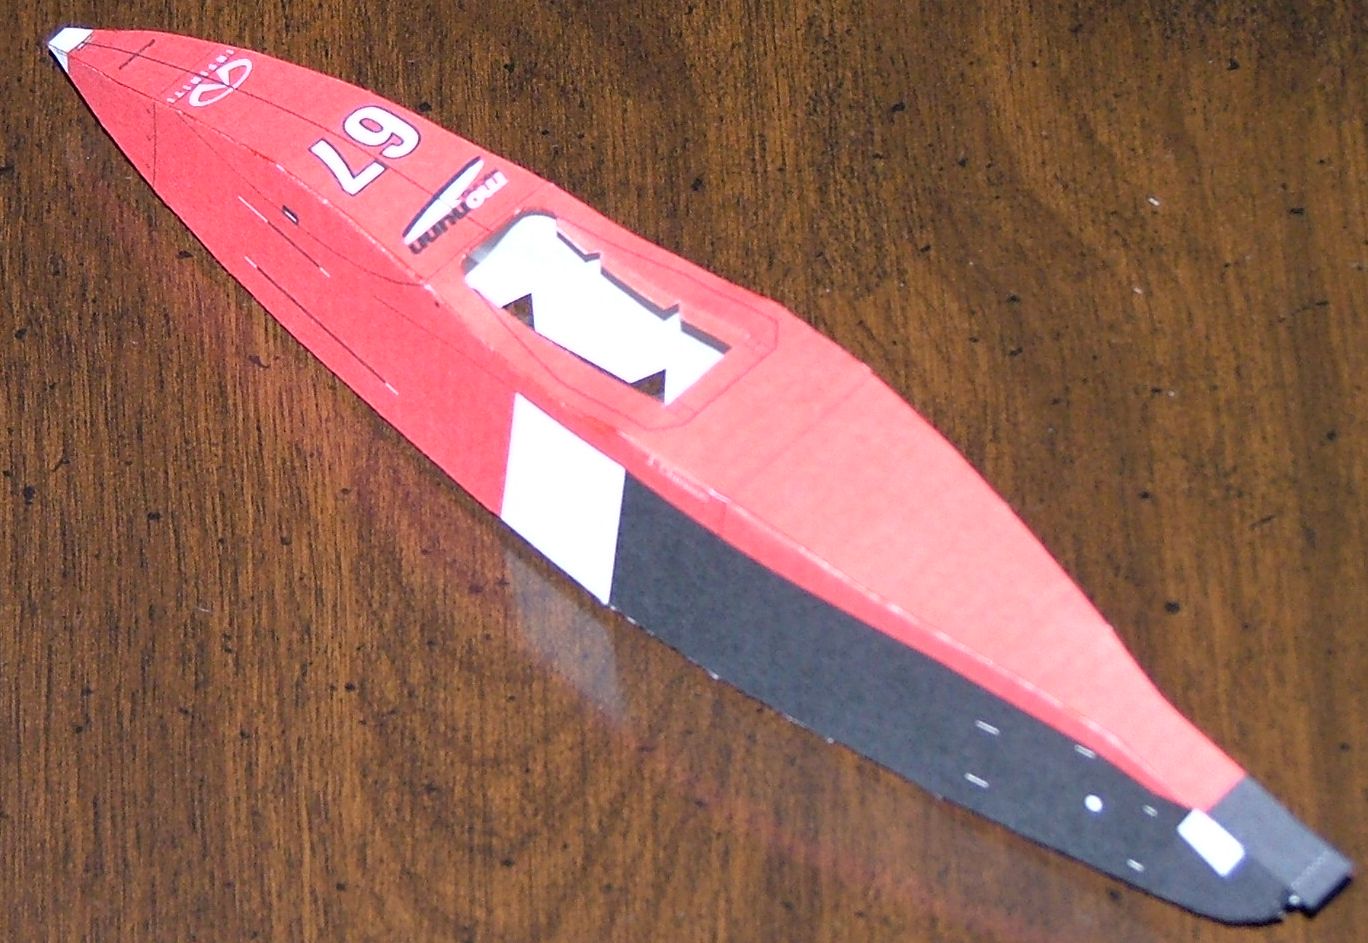
5. Glue the cockpit assembly into the main chassis. The rear surface of the cockpit should be flush with the rear of the opening in the chassis. Score, cut out and assemble the main bulkhead into the chassis. The tabs face rearward, and the front face butts up against the rear of the cockpit.
|

|
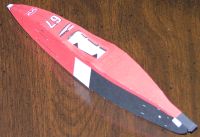
6. Score and cut out the bottom chassis platform. Glue the main chassis onto the bottom platform. Start by gluing the tabs just in front of and behind the bulkhead. Check that the nose and tail ends are aligned side-to-side to prevent twists. Glue a pair of tabs at a time, working from the middle of the chassis towards the ends. Glue the nose tab to the bottom of the nose. Glue the upper rear tab from step 4 to the lower rear tab.
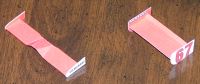
Bend up the sidepod bulkheads and glue them to the chassis sides so they are vertical. Glue the sidepod front lips to the sidepod bulkheads and the chassis sides, aligning the tops and making sure the lower portion is horizontal.
Score, cut out, and fold up the lower airscoop. Glue the back end together and glue it to the chassis, butting it up against the back of the headrest.
|
|
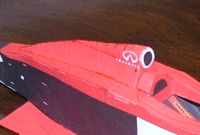
7. Score, cut out, and glue together the upper airscoop, being sure to roll it to a rounded section. Glue it to the lower airscoop.
|

|
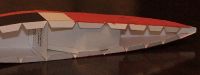
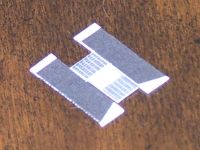
8. Score and cut out the sidepod top and side skins. Starting at the back edge, glue the skins together.
|
|
9. Begin assembling the sidepod to the chassis by gluing the front lower lip in place. Be sure the inner edge is against the side of the chassis. Let it dry.
|
|
10. Glue the sidepod lower tabs into place, making sure the sidepod follows the curve on top of the bottom chassis platform. Pull the top of the sidepod away from the chassis side a bit, apply glue to the tabs, and press the sidepod back into contact with the chassis. Repeat for the other sidepod.
|
|
11. Cut out the suspension assemblies, fold up, and glue into their respective locations. Glue each pushrod into place. You may want to leave the outer ends of the pushrods unglued so that, at final assembly, the wheels may be individually adjusted so all four rest on the ground.
|
|
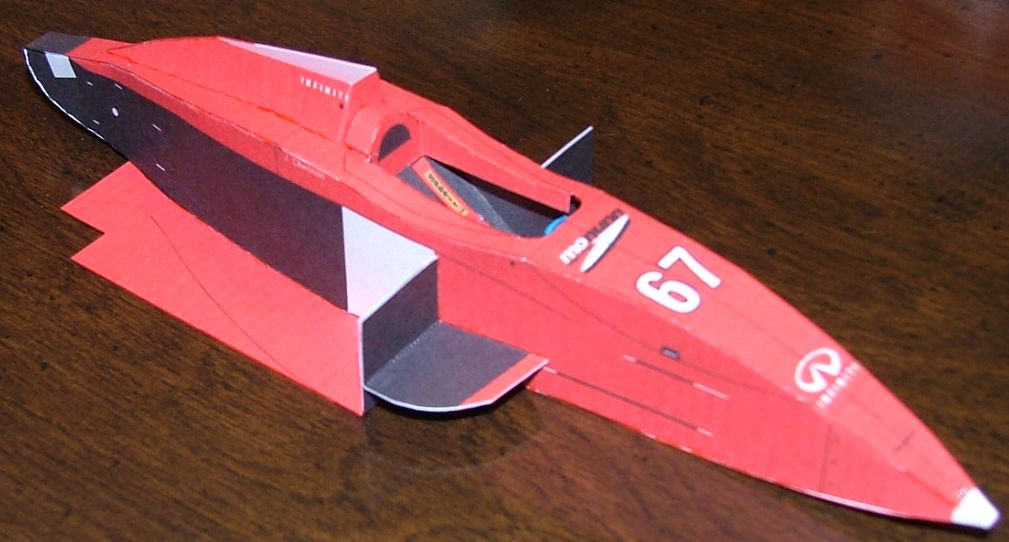
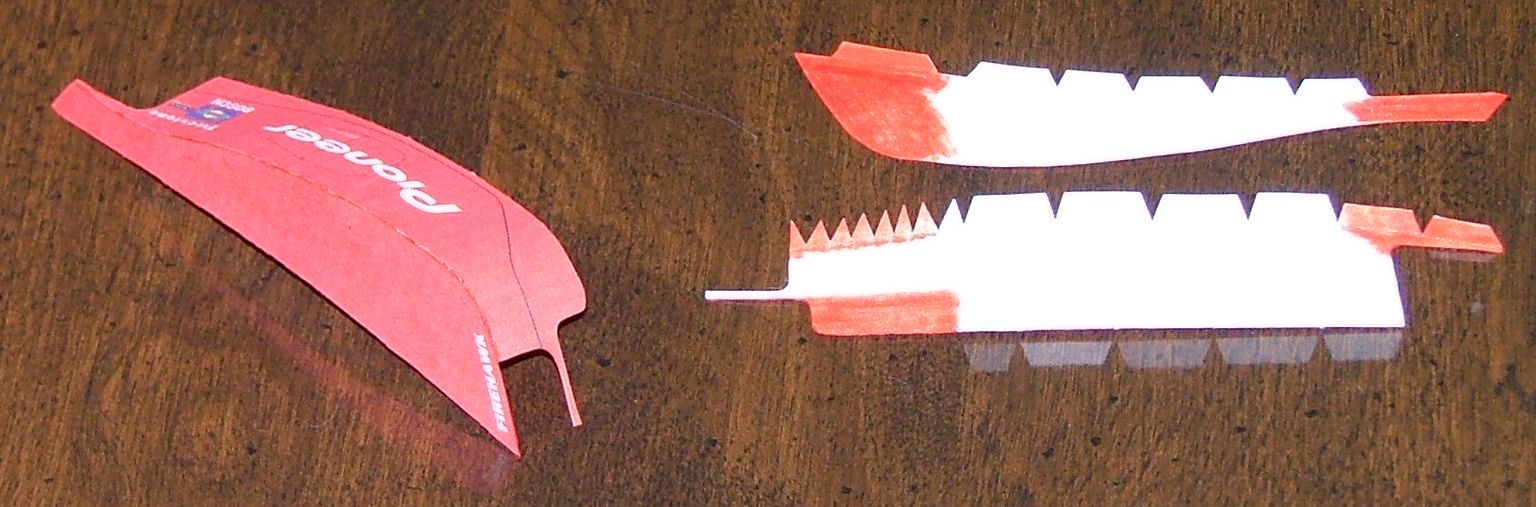
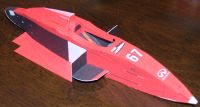
12. Cut out, fold up, and assemble the wings. Superspeedway wings are shown; if using the short track wings, use the larger front endplates and add the extra wing elements.
|
|
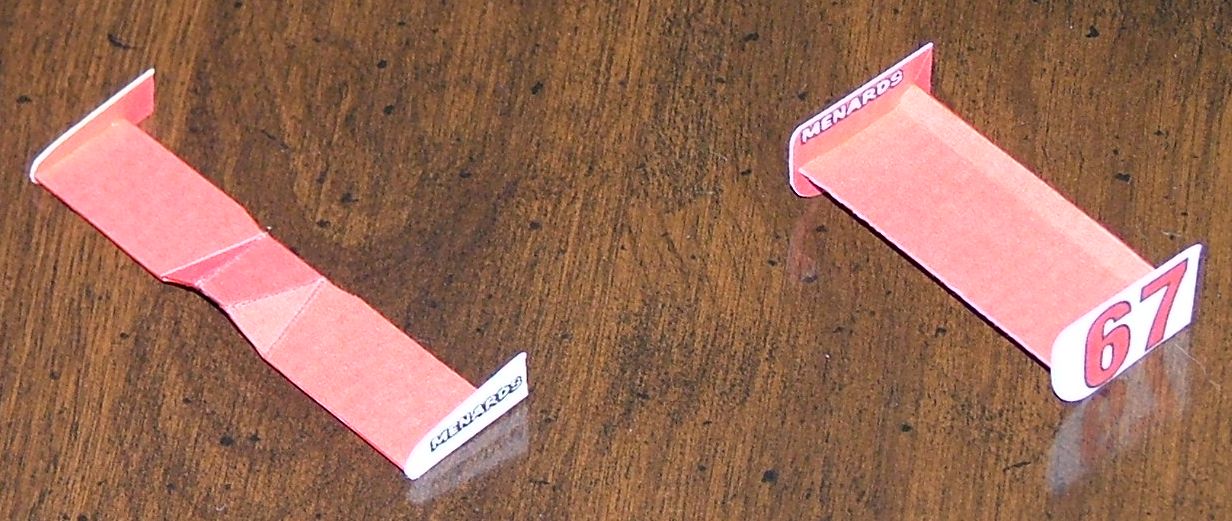
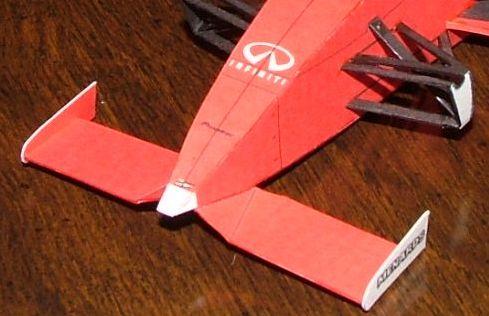
13. Double the sides of the wing mount as shown. Trim the top & bottom to length. Fold the sides back, but don't glue to the oil cooler yet.
|
|
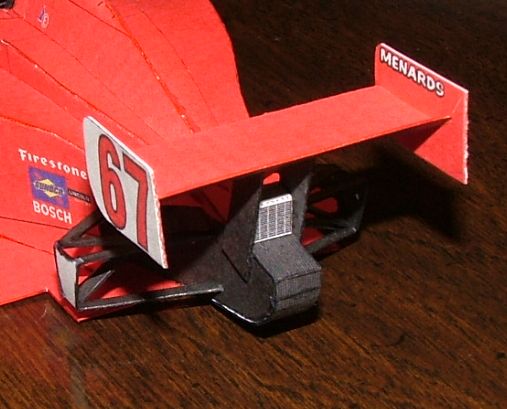
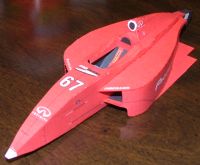
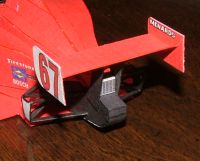
14. Glue the bottom of the wing mount to the white areas on the rear chassis. Fold the oil cooler so that the rear surface is parallel to the front and touching the rear chassis. Glue the rear wing in place.
|

|
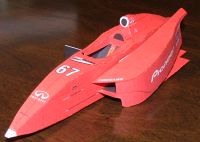
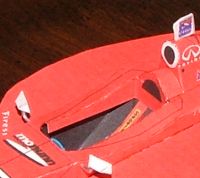
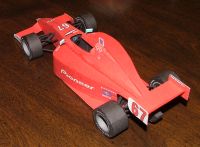
15. Glue the front wing in place. Glue the camera pod into place, and assemble the mirrors to the car. If you want to use a clear coat finish, apply it now.
|
|
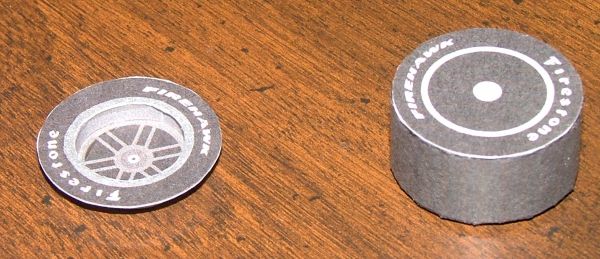
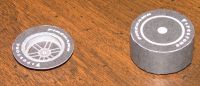
16. Begin assembling the wheels by scoring and cutting out the tire tread. Roll it around a pen or dowel to form the curve, and glue the ends together with the connector strip. Bend down the tabs. Cut out the inner tire face and glue it to the tread. Cut out the outer tire face, the rim face, and the inner rim strip. Curve the rim strip and glue the ends together with the connecting strip. Glue to the outer tire face, then glue the rim face to the rim strip.
Glue the tire halves together. Align so that the seams on the tread and rim strip are 180 degrees apart, i.e. if you are looking straight at the tread seam, you can also see the rim strip seam in line with it. This is so that the wheels can be assembled to the car with all seams pointing down, to minimize visibility in the finished product.
|
|
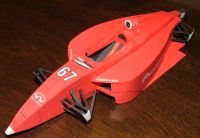
17. Glue the wheels into their respective locations. If you left the pushrods loose in step 13, glue them now, adjusting each wheel up or down as necessary. Cut two short lengths of toothpick, color them black, and glue between the white dots on the side of the transmission and on the rear suspension upright.
|