|
Need web hosting? I highly recommend my host, ICDSoft. Easy to use, affordable, and reliable.  |
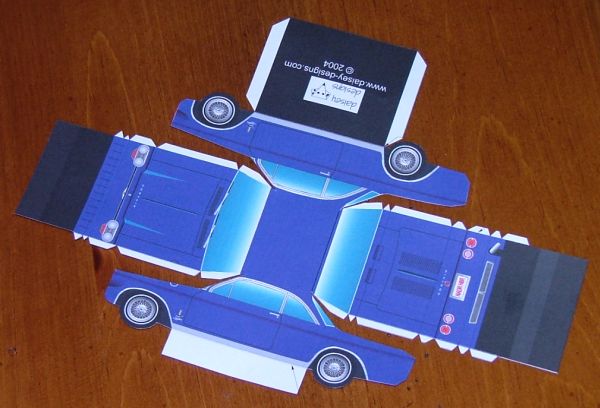
After printing your kit on an appropriate piece of cardstock, begin construction by scoring all lines indicated. Use a straightedge on all of the scores except for the curved one at the base of the windshield. I use a dead ballpoint pen as a scoring tool, but the back of an X-acto knife blade will also work if used lightly.
Cut out the main body along the outlines:
Bend all the scored lines in the intended direction, like this:
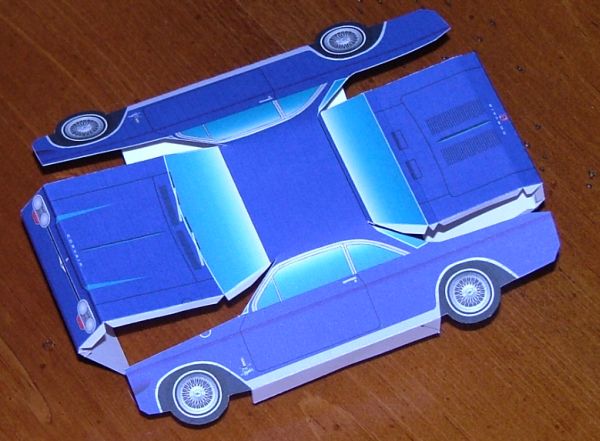
Starting at the roof, glue the tabs to the body sides:
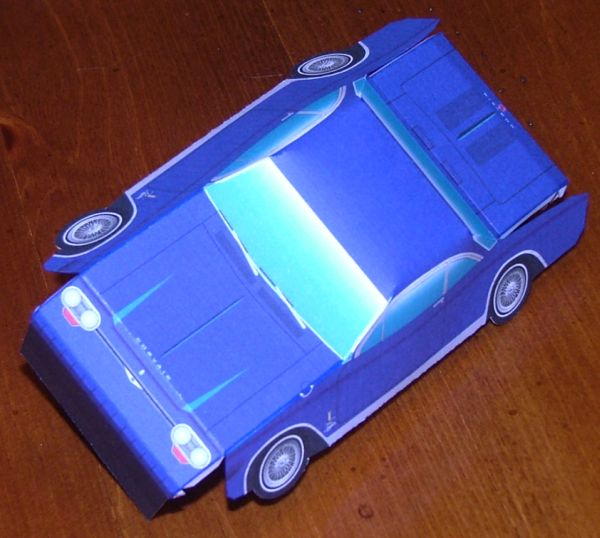
When you get down to the front and rear panels, glue the bottom (below the rocker panels) together:
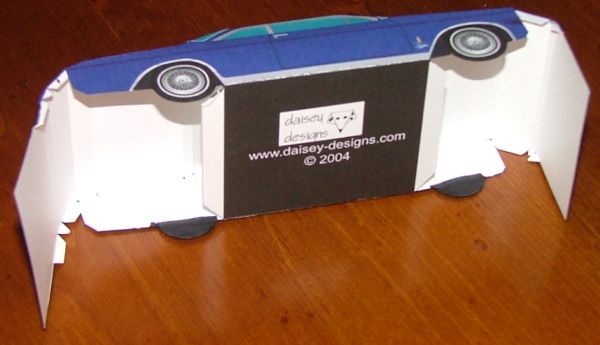
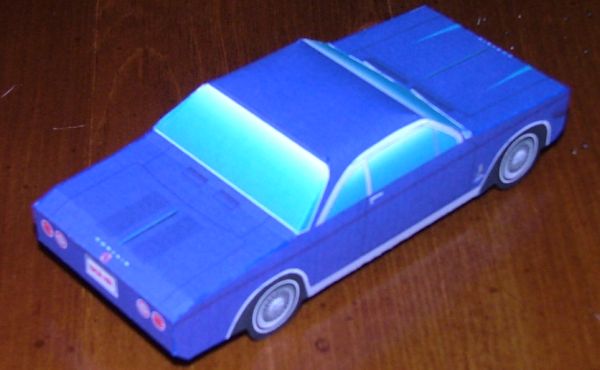
Now finish the rest of the tabs, and glue the black ends to the tabs on the bottom. Almost there:
Roughly cut out the bumpers, leaving around 1/4" around the outside. Fold over on the score line:
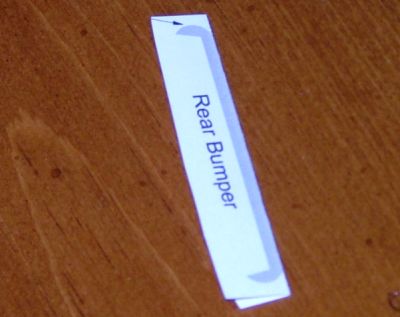
Cut around the outside edge of the bumper. Flatten the piece back out, and cut out the remaining interior portion. On the front bumper, bend the license plate down. Carefully apply glue around the outer edge of the bumper only, and fold the halves together. Let the glue dry for a minute or two, then use the point of a toothpick between the bumper halves to work it into a more realistic "V" cross-section. Glue the finished bumpers in the appropriate places. That's all there is to it.
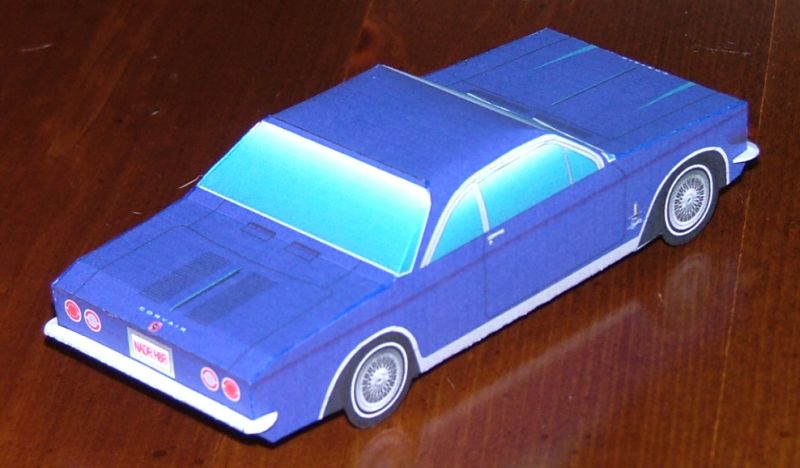
I hope you enjoy building your Spyder as much as I enjoyed designing it.
Ryan
11 March 2004
|
Need web hosting? I highly recommend my host, ICDSoft. Easy to use, affordable, and reliable. |
Created on ... March 11, 2004